PREPARATION AND PLANNING
Plan your tiling carefully and buy all the tiles you need at the same time ensuring they are suitable for the area you intend to tile - if you need help refer to design and planning section for the relevant project area. As tile shades can vary from batch to batch it's important to order the quantity you need at the onetime after allowing an extra 10% for breakages and cutting.
All floors have to be level and free from movement as per building standards or products laid will not be warrantied for the purpose. Floorboards that may be prone to flexing may benefit from being covered with 6-9mm ceramic tile underlay ensuring that no screw heads protrude above the surface and are treated with a suitable primer.
Concrete surfaces need to be at least 6 weeks old and flat with no lumps or bumps. Screeded concrete needs to be at least three weeks old and also free of lumps and bumps.
Mark the height of the foor tile on the door and the architrave as they may need to be trimmed to allow the new floor tiles underneath (add about 4mm extra clearance on the door). If necessary carefully lever the skirting boards from the walls noting which skirting board went where.
Â
Setting Out
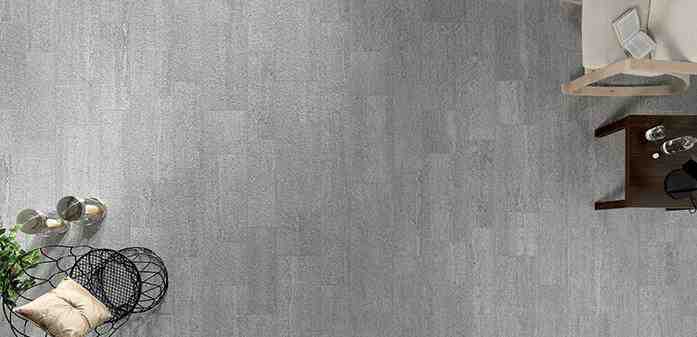
It is important that floor tiles look straight in relation to the walls of the room. One of the most important view points is from the doorway so make sure the tiles look straight from there.
Mark a line along the centre of the room with chalk and lay the tiles out to see how they fit. If the final gap to the wall is less than half a tile then move the tiles away from the centreline to have at least a half tile width at the room edge.
TILING A FLOOR
Spread the tile adhesive evenly using the correct notched spreader and move the tile back and forth to ensure maximum adhesive coverage to the tile. Do not cover more than you can tile in 20 minutes (approx. 1 square metre at a time). Place the first two tiles in the right angles of the chalk line. Complete this line of tiles and then form a pyramid pattern. Continue tiling up to the border. Work outwards towards the walls, positioning each tile accurately and square to its neighbours. The joint must create a straight line. Remember to use tile spacers between each tile to allow accurate and even spacing. It's a good idea to regularly check the tiles are level using your spirit level.
Â
GROUTING CERAMIC FLOOR TILES
When all the main tiles are in place you will have to allow the adhesive to dry. This will take about 24 hours. Using a grout spreader, push the grout into all the joints. Wipe any excess grout from the tile surface with a sponge and buff up with a soft cloth.
Amber recommends products be installed by a professional tradesperson. These instructions are to be used only as guides. Amber does not accept responsibility for any incorrect installation results or improper preparation. For individual advice speak to your local Amber store.